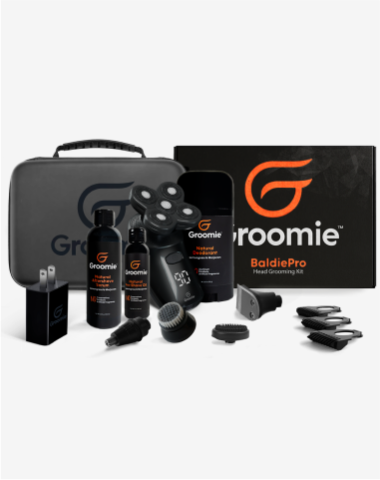


BaldiePro™ Head Shaver Kit


 Free Shipping
 60 Day Trial
-
Shop
![Head Shaver Kit]() ★ ★ ★ ★ ★ 523,986+ Happy Customers & Excellent Reviews
★ ★ ★ ★ ★ 523,986+ Happy Customers & Excellent ReviewsBaldiePro Head Shaver
Portable head shaver that shaves your head in minutes!
-
SmoothShave™ Technology

-
3 Minute Shave

-
Wet & Dry Shave

-
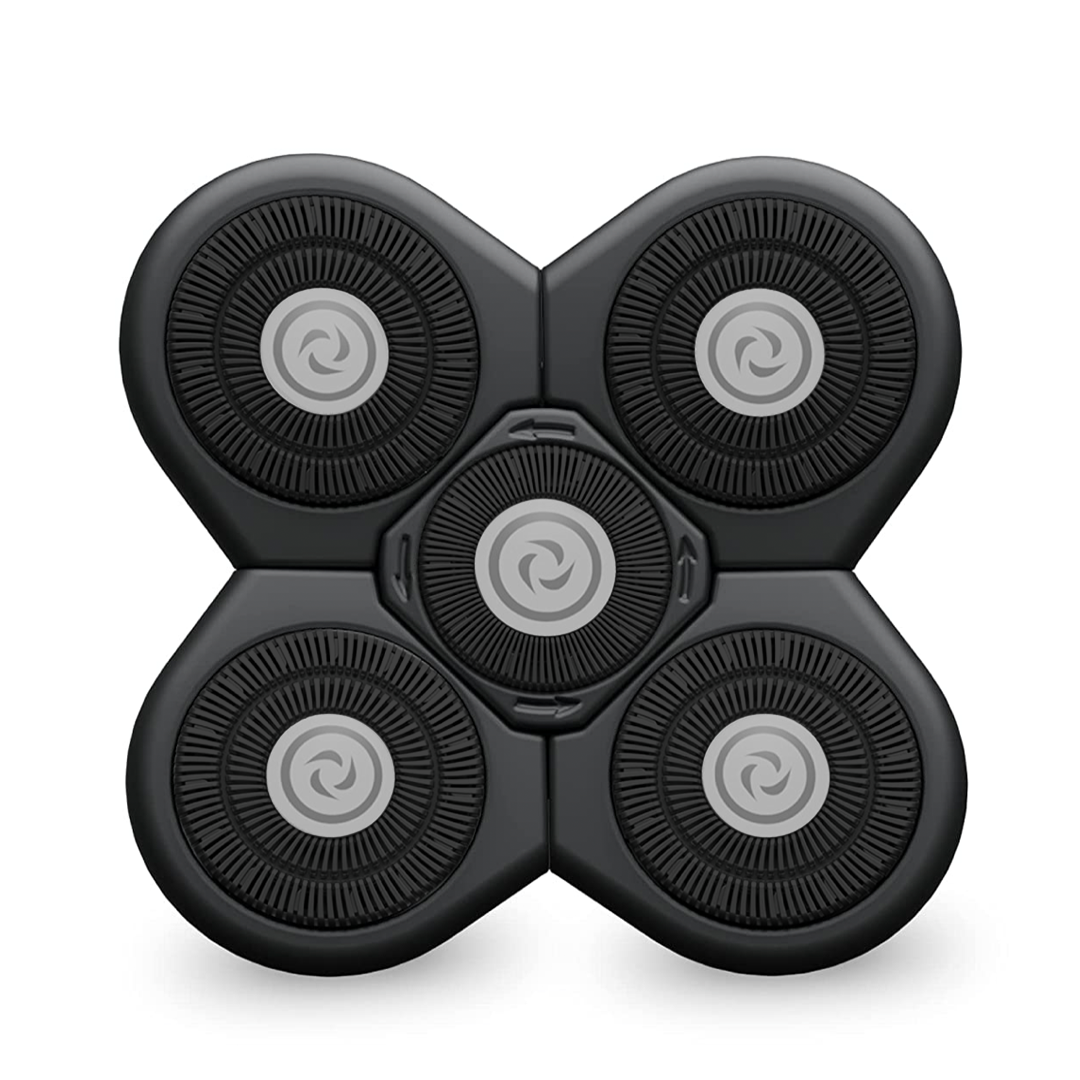
![BaldiePro™ Blade Refill 2.0]() New
NewBaldiePro™ Blade Refill 2.0
-
![BaldiePro™ Blade Refill 2.0 (3 Pack)]() New
NewBaldiePro™ Blade Refill 2.0 (3 Pack)
-
![BaldiePro™ Blade Refill 2.0 + Chamber]() New
NewBaldiePro™ Blade Refill 2.0 + Chamber
-
![BaldiePro™ Charging Dock]()
BaldiePro Charging Dock
-
![Travel Case]()
Travel Case
-
![Accessory Attachment Kit]()
BaldiePro Accessory Attachment Kit
-
![BaldiePro Charging Cable & Adapter (US)]()
BaldiePro Charging Cable & Adapter (US Plug)
-
![BaldiePro USB Charging Cable]()
BaldiePro USB Charging Cable
-
![BaldiePro Pre-Shave Massager]()
BaldiePro Pre - Shave Massager
-
![BaldiePro Exfoliator Brush]()
BaldiePro Exfoliator Brush
-
![BaldiePro Precision Hair Trimmer]()
BaldiePro Precision Hair Trimmer
-
![BaldiePro Nose & Ear Hair Trimmer]()
BaldiePro Nose & Ear Hair Trimmer
-
![BaldiePro™ Blade Refill]()
BaldiePro™ Blade Refill
-
![BaldiePro™ Blade Refill (3 Pack)]()
BaldiePro™ Blade Refill (3 Pack)
-